
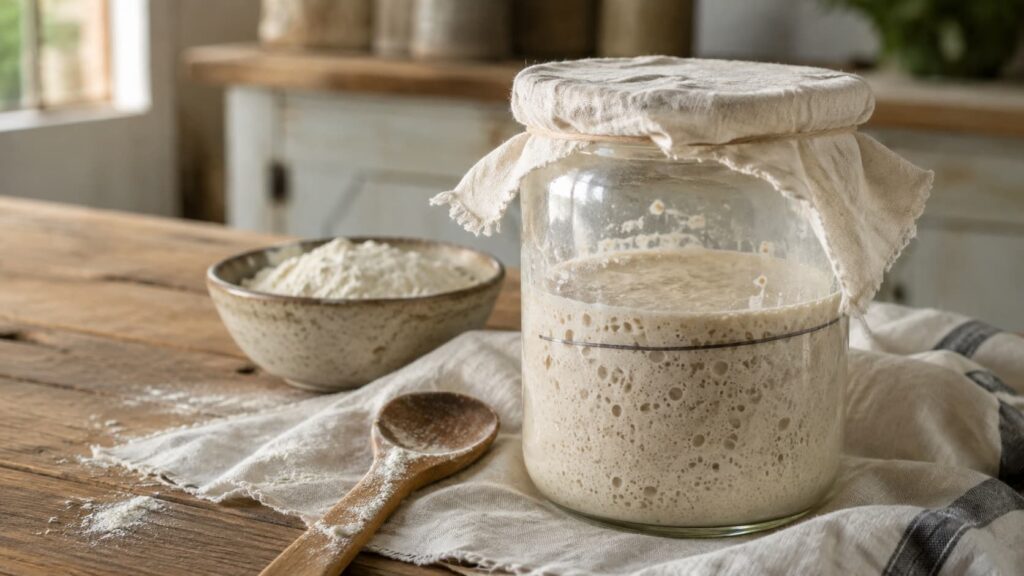
A sourdough starter comes together from just flour, water, and daily feeding until the culture is strong enough to rise bread on its own. The method is simple. The part that trips people up is staying patient through the days it looks like nothing is happening.
Quick Answer
Mix equal parts flour and water by weight, cover loosely, and feed it once a day, discarding some before each feeding. Most starters take 7 to 14 days to become reliable. You’ll know it’s ready when it doubles in size within 4 to 8 hours of a feeding and smells pleasantly sour rather than rotten.
If you’re new to fermentation more broadly, Fermenting Food at Home: The Ultimate Beginner’s Guide covers what’s happening inside any active culture, starter included.
 Old School Tip: A starter isn’t a machine. It won’t behave the same way two days running. Watch the pattern over a week, not the mood of any single day.
What You Need to Make a Sourdough Starter
Three things, and that’s genuinely all:
| Item | What to Use |
|---|---|
| Flour | Whole wheat, rye, bread flour, or all purpose flour |
| Water | Filtered, spring, or dechlorinated tap water |
| Jar | Clean glass jar with room to expand |
Whole grain flour tends to get a starter moving faster since it carries more wild microbes and nutrients. Rye is especially active, whole wheat is close behind. All purpose flour works too, it just tends to take longer. You don’t need grapes, commercial yeast, honey, sugar, or pineapple juice. Flour and water are enough.
Basic Sourdough Starter Ratio
Equal parts flour and water by weight.
| Ingredient | Amount |
| Flour | 50 grams |
| Water | 50 grams |
That’s called 100% hydration, meaning the flour and water weigh the same.
No scale? Use roughly:
| Ingredient | Amount |
| Flour | 1/3 cup, spooned lightly |
| Water | 3 tablespoons plus 1 teaspoon |
Volume measuring is less precise but still workable. You’re aiming for something like thick pancake batter. If it pours like milk, add flour. If it’s dry and shaggy, add a little water.
Simple 7-Day Sourdough Starter Schedule
Here’s the full week at a glance:
| Day | What to Do | What to Expect |
| Day 1 | Mix 50g flour and 50g water | Thick paste, little activity |
| Day 2 | Discard half, feed 50g flour and 50g water | Maybe bubbles, maybe nothing |
| Day 3 | Discard and feed | Possible rise, funky smell |
| Day 4 | Discard and feed | May slow down |
| Day 5 | Discard and feed | More sour smell, some bubbles |
| Day 6 | Discard and feed | Possible stronger rise |
| Day 7 | Feed and test rise | May be ready, may need more time |
If day 7 comes and it’s not ready, keep going. Forcing the timeline doesn’t speed it up.
Discarding is part of this on purpose, not a mistake. Under this schedule, the jar would gain another 100 grams every time you fed it without removing any starter. Keeping only 50 grams before each feeding holds the culture at a manageable size while giving it enough fresh flour and water.
Once the starter is mature, discard is useful in pancakes, crackers, waffles, and flatbreads. In the first week, skip using discard from a brand-new starter and let the culture stabilize first.
Day 1: Mix Flour and Water
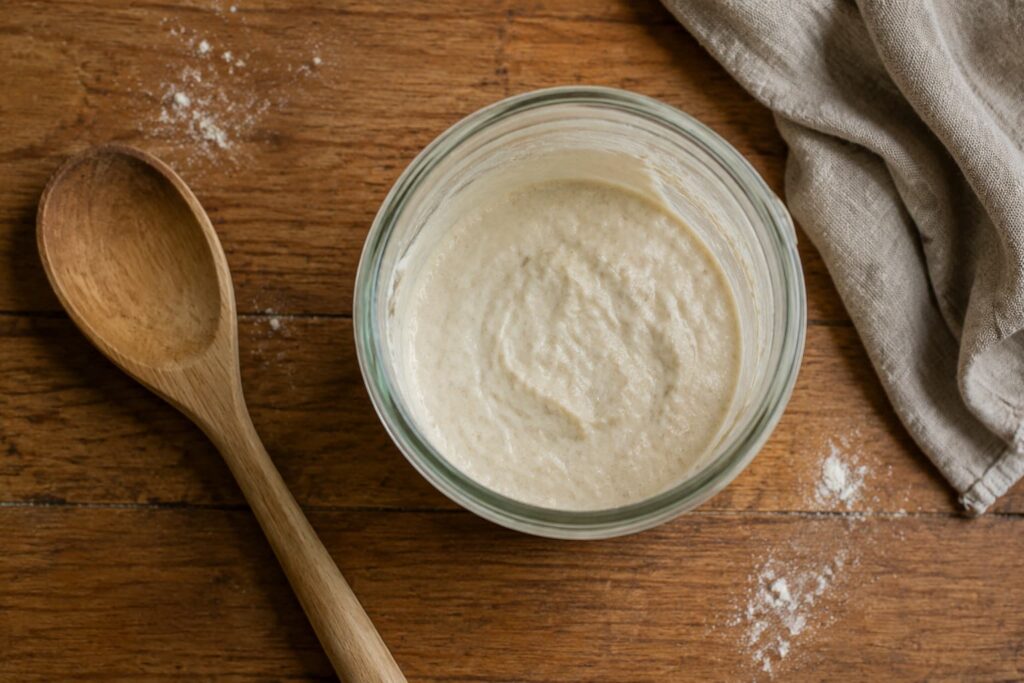
In a clean jar, combine:
| Ingredient | Amount |
| Whole wheat or rye flour | 50 grams |
| Water | 50 grams |
Stir until there are no dry pockets, then scrape down the sides. Set a lid on the jar without tightening it fully, or use a vented fermentation lid. A starter produces gas as it ferments, so the cover should let pressure escape while keeping dust and fruit flies out. It does not need an open cloth cover to “breathe.”
Leave it at room temperature, ideally 70 to 78°F.
Day 2: Check It and Feed It
Twenty four hours in, take a look. Any of the following is normal:
- No activity – nothing visible yet, common this early
- A few small bubbles – the first sign of fermentation starting
- A slightly floury smell – not much has happened chemically yet
- A mild sour smell – acidity is beginning to build
- A thin layer of liquid on top – early separation, not a problem
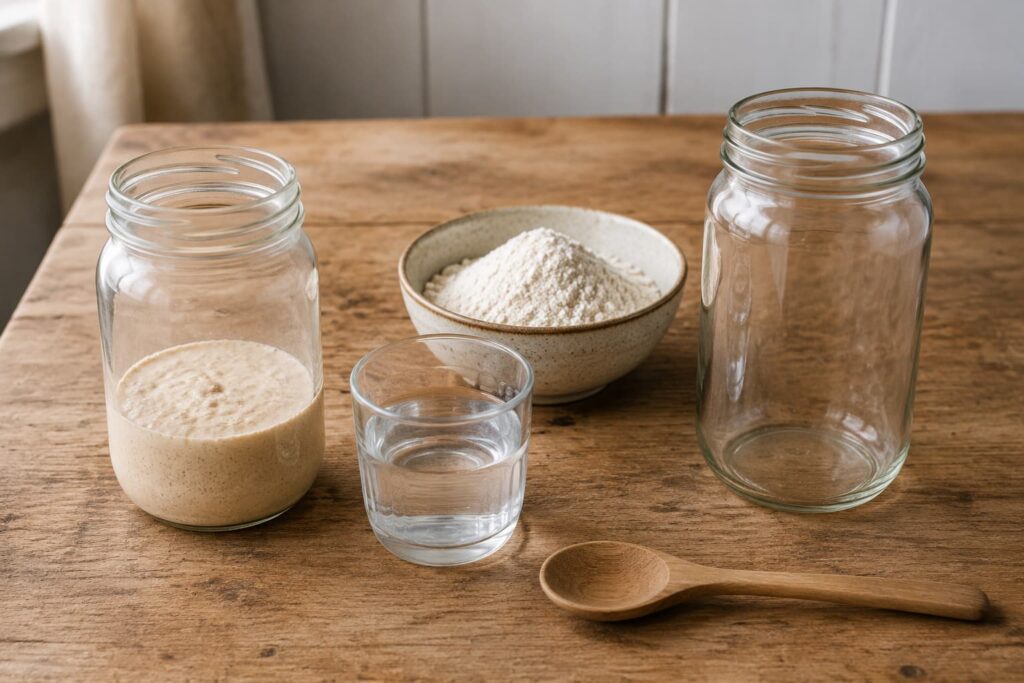
Discard about half, then feed it:
| Ingredient | Amount |
| Starter left in jar | 50 grams |
| Flour | 50 grams |
| Water | 50 grams |
Stir, scrape the sides, cover loosely, and set it back at room temperature.
If nothing is bubbling yet, that doesn’t mean it’s dead. Slow starts happen often, especially in a cool kitchen. The same patience applies across fermentation generally, which is why Ferment Not Bubbling: Is It Dead? What It Really Means is worth reading if inactivity makes you uneasy.
Day 3: Expect Bubbles, Rise, or Strange Smells
This is where beginners tend to get fooled.
Some starters bubble hard and rise fast on day 3. It looks like a big win, but early activity doesn’t always mean the starter is ready to bake with. That first surge often comes from microbes that show up before the culture settles into something stable.
The smell can get strange too:
| Smell | Usually Means |
| Floury | Not much fermentation yet |
| Sour | Acidity developing |
| Fruity | Yeast activity beginning |
| Cheesy | Early microbial activity |
| Funky or unpleasant | Starter is still sorting itself out |
A young starter can smell rough before it smells good. For a broader sense of what’s normal across fermentation in general, see What a Normal Ferment Should Smell Like.
Feed it the same way as before, discard the rest, stir, cover, and wait.
Old School Tip: That first burst of activity isn’t the finish line. Starters often get exciting, then go quiet again. That quiet phase is exactly where people give up too early.
Days 4-5: Keep Feeding Through the Quiet Phase
By days 4 and 5, a sluggish stretch is common. Keep feeding once a day.
| Ingredient | Amount |
| Starter | 50 grams |
| Flour | 50 grams |
| Water | 50 grams |
At this stage you’re watching for a pattern, not chasing perfection. Signs of real progress:
- Bubbles through the starter – not just sitting on the surface
- A slight rise after feeding – early strength building
- A sour, fruity, or yeasty smell – the culture is developing character
- A looser texture hours after feeding – gas is working through it
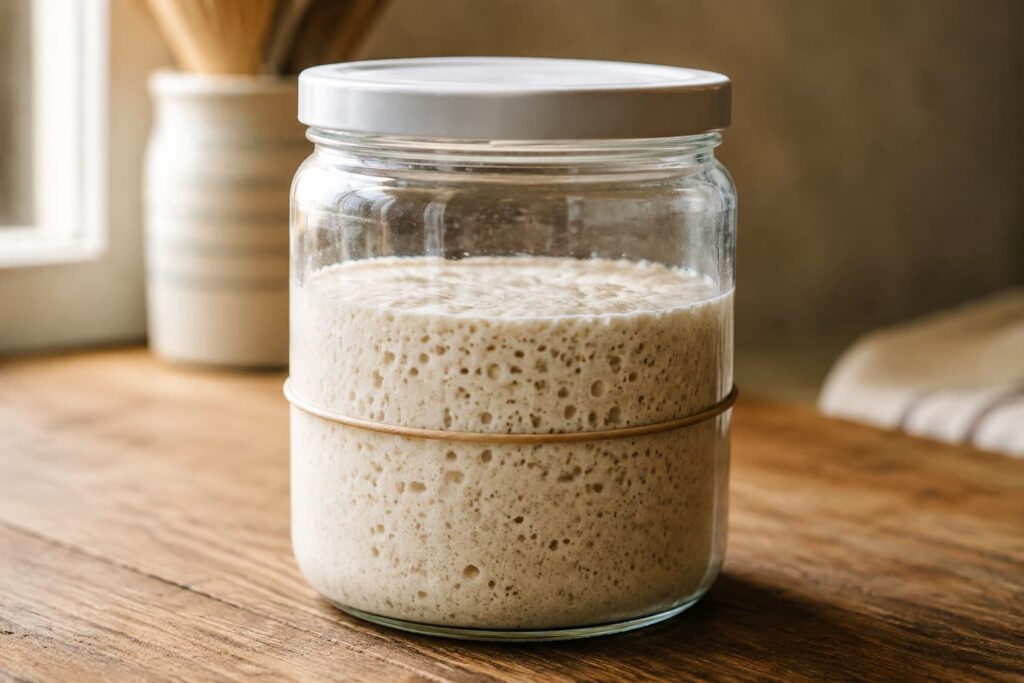
- A line on the jar – visible proof it rose and then fell back
If the smell turns aggressively rotten or foul, compare it against Why My Ferment Smells Bad (And When That Smell Is Normal). Strange is normal here. Decay is not.
Days 6-7: Watch for Predictable Rise
Around day 6 or 7, a healthy starter usually starts rising more reliably after each feeding. You’re getting close when it:
- Doubles after feeding – the clearest sign of strength
- Has bubbles throughout – not just on top
- Smells pleasantly sour, fruity, or tangy – a good sign, not a bad one
- Rises and falls in a rhythm – consistency matters more than speed
- Stays active several days running – a trend, not a fluke
If it doubles within 4 to 8 hours of feeding, it may already be strong enough to bake with. If it’s not there yet, keep feeding. Some starters are ready in a week, others take 10 to 14 days, especially in a cooler kitchen. Neither timeline means you’re doing it wrong.
When Is Sourdough Starter Ready to Use?
It’s ready when it reliably doubles after feeding and smells pleasantly fermented.
Don’t judge readiness by bubbles alone. Bubbles show activity, but bread needs strength, meaning enough yeast to actually lift dough.
A simple test:
- Feed the starter.
- Mark the height with a rubber band or marker.
- Time how long it takes to double.
- Repeat for another day or two to confirm the pattern.
If it doubles reliably, use it. If it rises some but never doubles, keep feeding. If it does nothing at all, adjust temperature, flour, or feeding ratio before writing it off.
A healthy starter smells tangy, fruity, yeasty, slightly vinegary, mildly alcoholic, like yogurt, ripe fruit, or beer. It should never smell rotten or moldy. If sour smells make you nervous, Why Fermented Foods Smell Sour (And When That Smell Is a Problem) draws the line between normal acidity and an actual warning sign.
How to Maintain Sourdough Starter After It Is Active
Once it’s mature, you’ve got two options.
Room Temperature Maintenance
Good if you bake often. Feed once daily, or whenever it rises and falls.
| Starter | Flour | Water |
| 25 grams | 50 grams | 50 grams |
Useful if you’re baking several times a week.
Refrigerator Maintenance
Good if you bake occasionally. Feed it, let it start rising, then refrigerate. Feed roughly once a week.
Before baking, pull it out, feed it, and let it come back to active. Some starters wake up after one feeding, others need two or three.
Common Sourdough Starter Problems
My Starter Is Not Bubbling
Give it more time. If nothing’s happening after several days, try:
- Warmer placement – cold kitchens are the most common cause of a stalled starter
- Whole wheat or rye flour – more active than all purpose
- Filtered or dechlorinated water – chlorine can suppress activity
- Once daily feeding – constant disturbance can slow things down
- Thicker texture – make sure it isn’t too thin
My Starter Rose Once and Then Stopped
Extremely common. That first rise likely wasn’t mature sourdough activity yet. Keep feeding. Starters often go active, quiet, then active again once the right balance develops.
My Starter Smells Like Alcohol
It’s probably hungry. Feed it. If the smell persists, bump up the feeding ratio:
| Starter | Flour | Water |
| 25 grams | 50 grams | 50 grams |
More fresh food usually resolves it.
My Starter Smells Like Vinegar
Vinegar usually means the starter is acidic and hungry. Feed it regularly, and if the smell is too sharp, feed more often or increase the ratio.
My Starter Has No Rise But Has Bubbles
It’s probably active but weak. Try a thicker feed, a warmer spot, and whole grain flour for a few days. Also check you’re not adding too much water, since thin starters can bubble without rising much.
My Starter Has a Crust on Top
It’s drying out. Switch to a better loose cover. Cloth works well most of the time, but in a dry room it can let too much evaporation happen.
My Starter Smells Bad
Some funky smells are normal early on. Truly rotten is not. If it smells foul and you see mold, pink discoloration, or orange streaks, discard it. If it’s just cheesy, sour, or strange in the first few days, keep feeding and watch the trend.
Most beginner problems come from reacting too fast to one weird day. Common Fermentation Mistakes That Ruin Batches and How to Fix Them covers this same pattern across other ferments.
Old School Tip: Most failed starters aren’t dramatic. They’re usually abandoned too early, kept too cold, overfed before activity develops, or judged on one strange smell instead of the overall trend.
Sourdough Starter Safety Questions
Can Sourdough Starter Grow Mold?
Yes. Mold can show up as fuzzy spots or colored patches on the surface or sides of the jar, in green, blue, black, white, pink, or orange.
 Take Heed: If you see mold, discard the starter. Don’t scrape the top and keep feeding it. Mold growth can extend further than what’s visible, and a starter is cheap enough to restart from scratch.
For more on identifying mold in fermentation generally, see Mold in Fermentation: How to Spot It, Fix It, and Prevent It for Good.
Can Sourdough Starter Cause Botulism?
That’s not the realistic concern here. Sourdough becomes acidic as it develops, and that acidity is part of what makes fermented foods safer over time. The real risks are mold, contaminated flour, dirty jars, and eating a young, unstable starter raw.
Take Heed: Don’t eat raw starter from the first few days of a new culture. Wait until it’s mature, reliably active, and acidic. If you’re using discard in a recipe, cook it thoroughly.
If food safety is what makes you hesitant about fermentation in general, Can You Get Botulism From Fermented Foods? lays out where the real risks actually sit.
Is the Liquid on Top Dangerous?
No, that liquid is hooch, and it just means the starter is hungry or has gone too long between feedings. It can look clear, gray, tan, or brownish, and often smells sharp or alcoholic.
Stir it back in for a more sour starter, or pour it off for something milder. Either way, feed the starter after. If hooch shows up every day, feed more often, increase the feeding ratio, or keep the starter slightly cooler.
Best Flour for Sourdough Starter
| Flour | Best Use |
| Rye flour | Fast activity, strong fermentation |
| Whole wheat flour | Solid beginner choice |
| Bread flour | Good once the starter is established |
| All purpose flour | Works, just may be slower |
| Bleached flour | Not ideal |
Start with whole wheat or rye, then switch to bread flour or all purpose once things are running.
Best Temperature for Sourdough Starter
| Temperature | Effect |
| Below 65°F | Slow activity |
| 70 to 78°F | Good range |
| 80 to 85°F | Faster fermentation |
| Above 90°F | Can stress the starter |
If your kitchen runs cold, try setting the jar near a warm appliance, inside the oven with the light off, or in a cabinet. Gentle warmth is the goal, not heat.
Final Thoughts
Making a sourdough starter comes down to mixing flour and water, feeding it daily, discarding enough to keep it manageable, and waiting until it reliably doubles after feeding.
The method itself is short:
- Mix equal weights of flour and water.
- Cover loosely.
- Feed once per day.
- Discard before feeding.
- Watch for bubbles, smell, rise, and fall.
- Use it once it doubles predictably.
It may smell strange along the way. It may slow down. It may rise early and then stall. None of that means you’ve failed. A good starter comes from steady feeding, decent warmth, and patience. Once it’s active, it can keep going for years.