
Most fermentation failures come down to a few simple mistakes. Too little salt, too much air, the wrong temperature, or not knowing what normal fermentation actually looks like.
If you have ever opened a jar and worried about mold, slime, or strange smells, this guide shows you what went wrong, what is normal, and how to fix it next time without guessing.
I’ve been fermenting for over a decade, from sauerkraut to kombucha. Over the years, I’ve learned that most ruined ferments trace back to the same avoidable problems.
Every fermenter has thrown away a few jars. Mistakes are part of the process. The good news is that once you understand what is happening inside the jar, most of these problems are easy to prevent.
Here are the most common fermentation mistakes and how to fix them.
1. Not Using Enough Salt
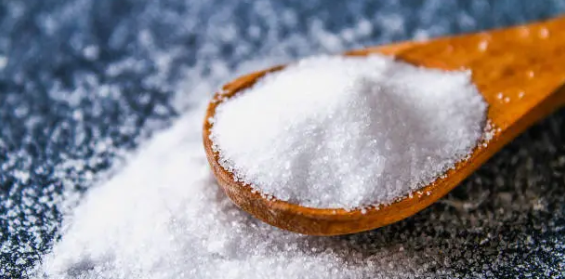
Fermentation needs balance. Salt doesn’t just add flavor — it protects your ferment by keeping harmful bacteria out while helping the good ones thrive. Get the ratio wrong, and the whole batch can turn. I’ve spent over a decade fermenting at home and teaching others how to troubleshoot their jars.
The Problem:
Too little salt allows bad bacteria to grow before the good ones take over. Too much salt slows everything down, leaving your vegetables soft and lifeless.
Why:
Salt draws water from the vegetables to form brine. This brine creates an environment that favors salt-tolerant, beneficial bacteria while discouraging spoilage organisms. The right concentration — usually 2–3% of total weight — keeps this balance stable.
The Fix:
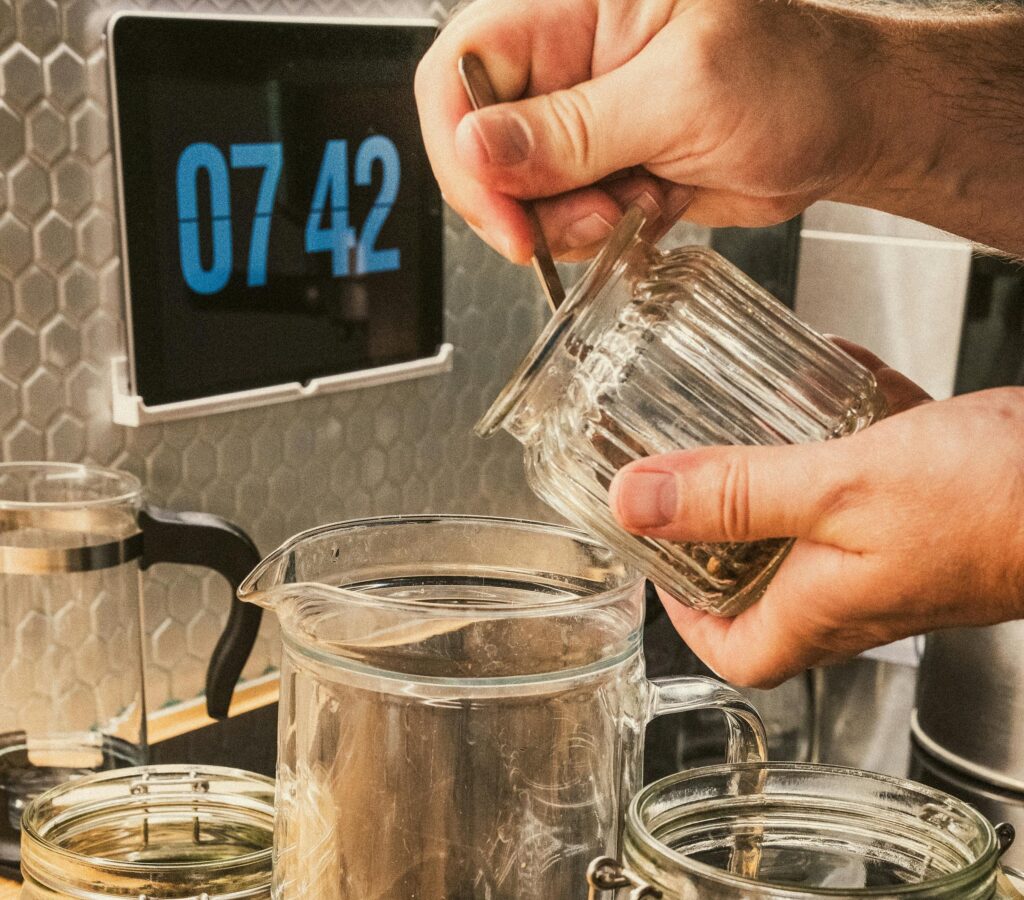
Weigh your vegetables and add 20–30 grams of salt per 1,000 grams (2.2 lbs) of produce. If you’re unsure, use 2.5% as your default. Always measure by weight, not spoons, since grain size changes volume. Choose non-iodized sea or kosher salt to avoid additives that can inhibit fermentation.
Getting the right ratio is one of the most frequent questions beginners ask: how much salt for fermenting vegetables? Aim for a consistent brine strength every time — it keeps your ferment predictable and safe.

For safe salt ratios and traditional preservation methods, see the Sauerkraut guide from the National Center for Home Food Preservation
2. Letting Vegetables Float Above the Brine
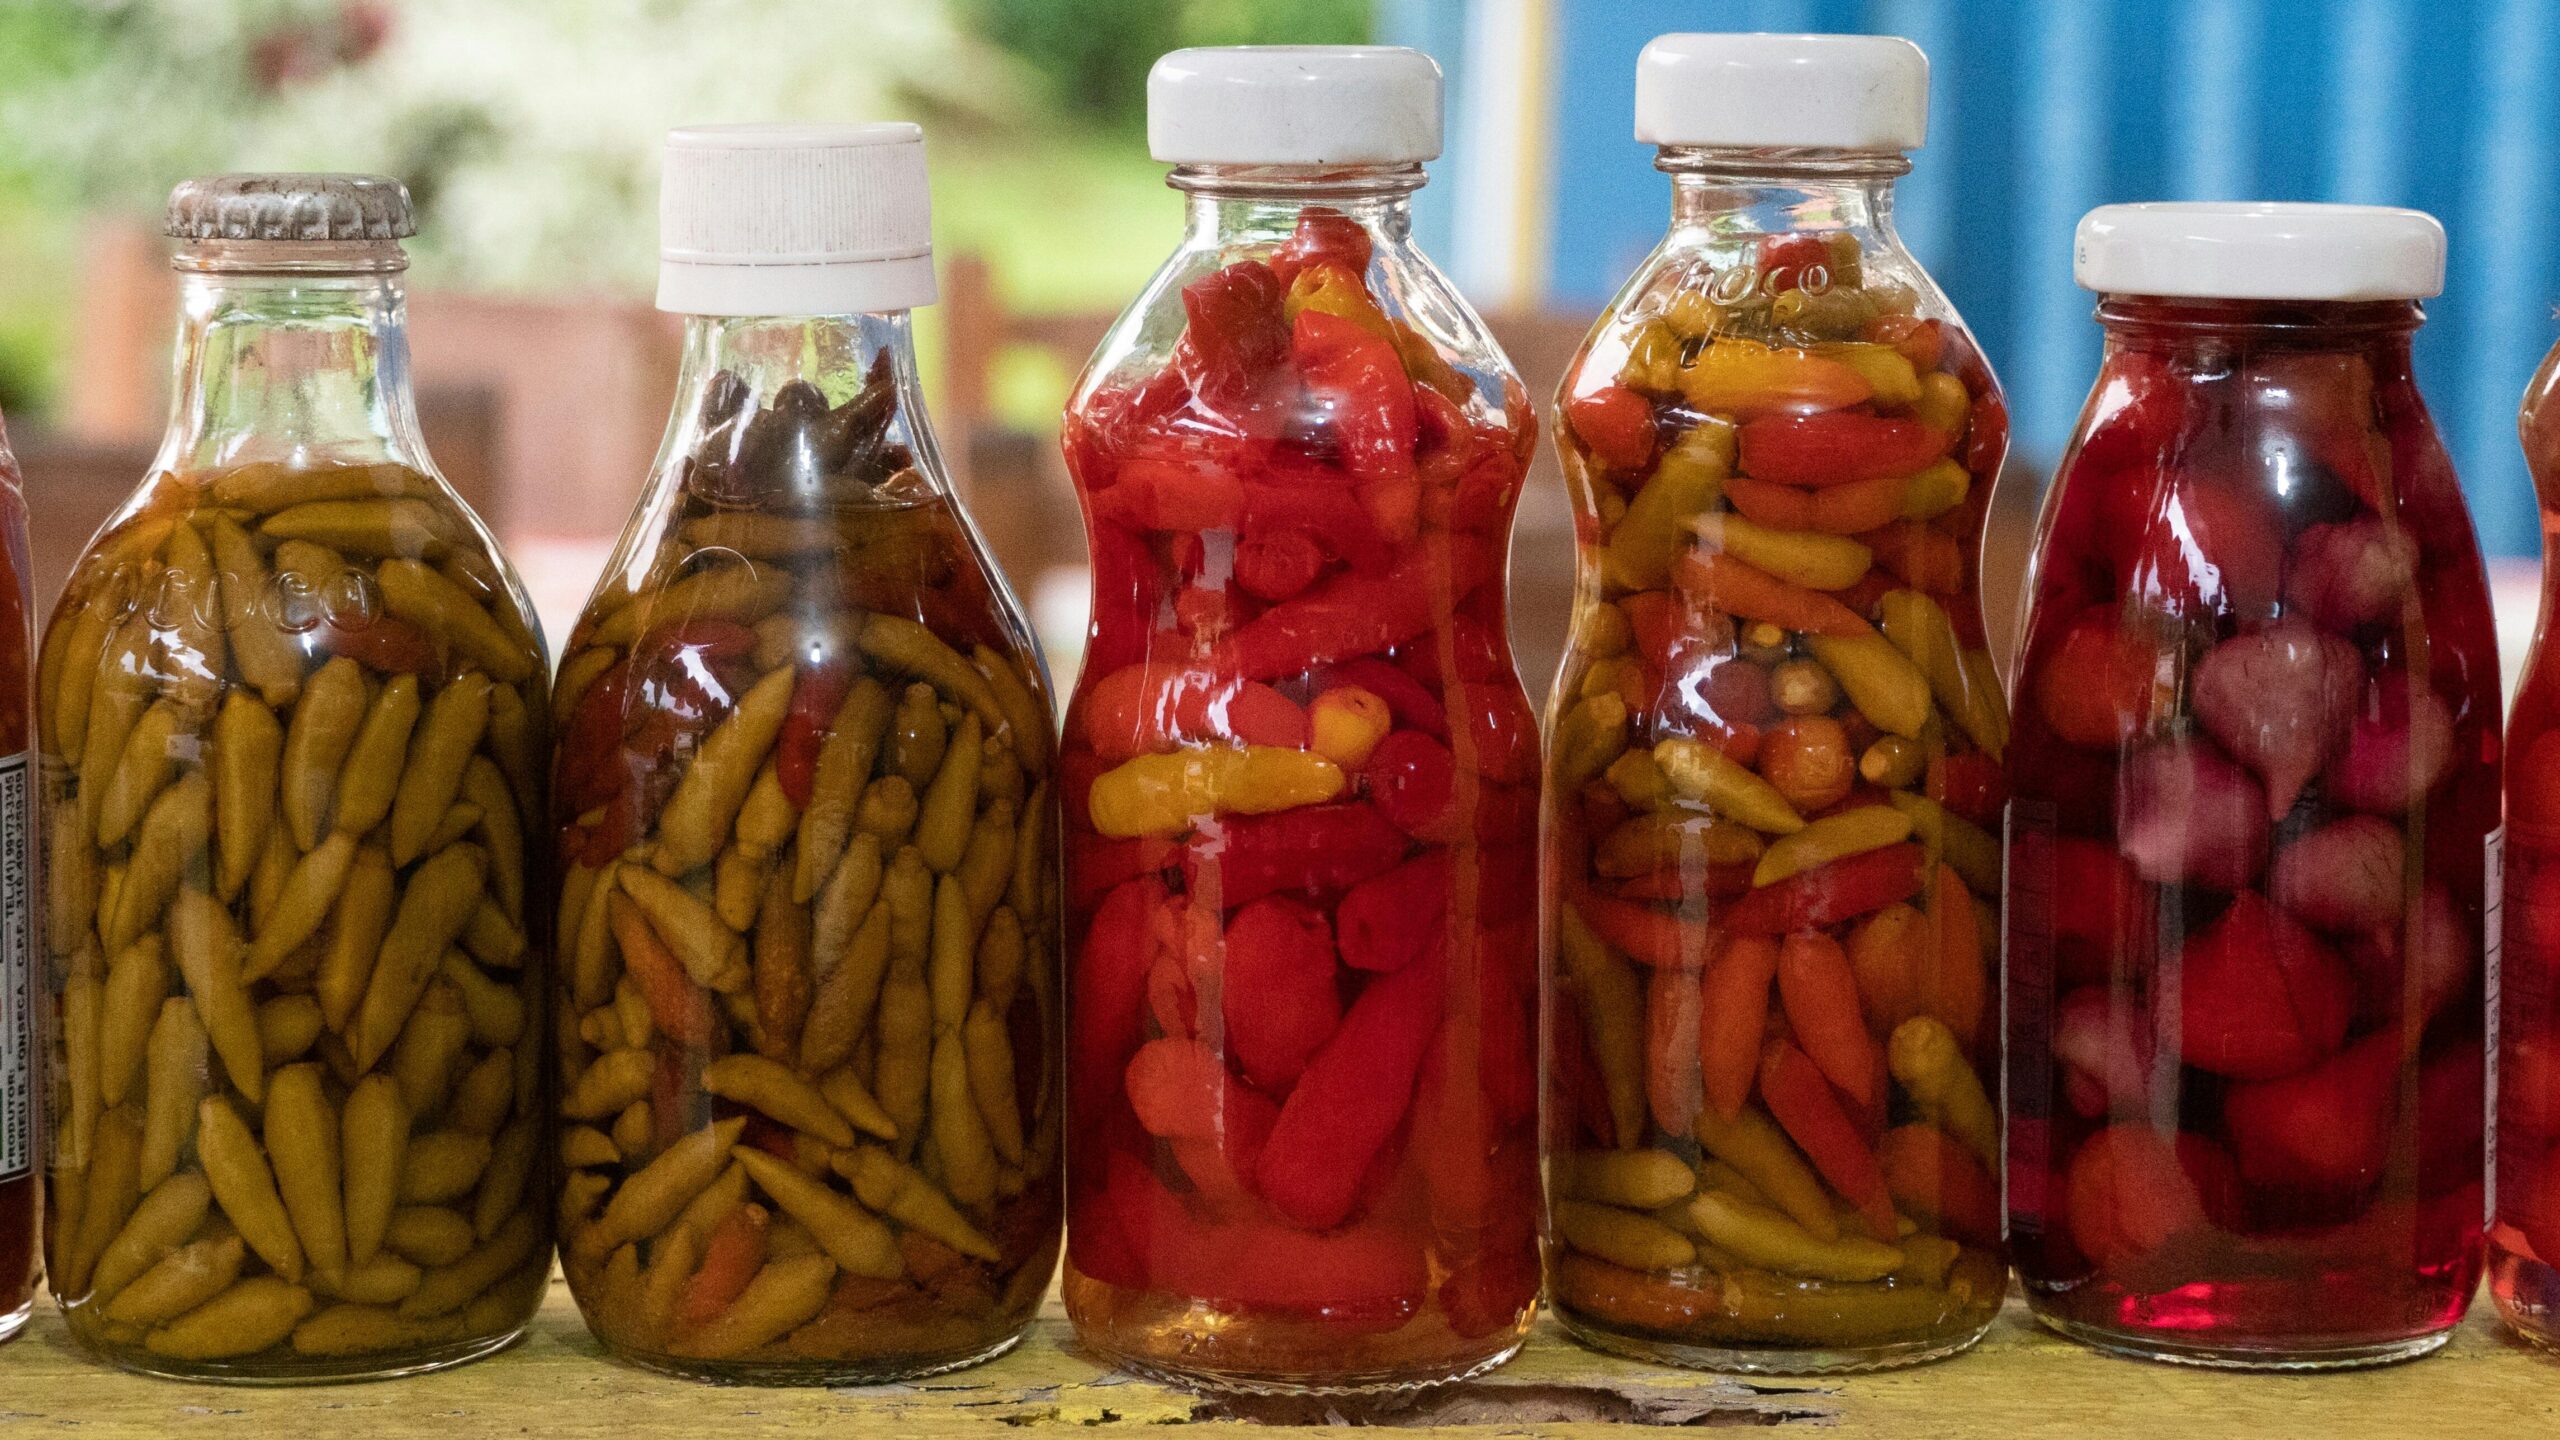
Fermentation happens under the brine, not above it. Once oxygen reaches your vegetables, unwanted molds and yeasts move in fast. Keeping everything submerged is the single most important rule for safe, clean ferments. I learned this the hard way with my first batch of pickles. They looked fine for two days, then turned white and fuzzy overnight.
The Problem:
When vegetables float to the surface, they’re exposed to air. That oxygen allows mold, yeast, and spoilage bacteria to grow. A few bubbles might lift things at first, but once they breach the surface, they can quickly ruin the batch.
Why:
Lactic acid bacteria — the good kind that make your food tangy and preserved — thrive in anaerobic (oxygen-free) conditions. The moment air reaches the vegetables, that environment changes. Surface molds feed on oxygen and organic material, breaking down your brine and causing off flavors or slimy textures.
The Fix:
Always keep your vegetables fully submerged beneath the brine. Use glass fermentation weights, a clean rock, or even a water-filled zip-top bag to hold everything down. Make sure there’s at least one inch of headspace in the jar for bubbling. If you see floaters, push them back down or remove them immediately.
Keeping vegetables under brine prevents the most dreaded sight in fermentation — mold. If you’ve ever asked “why is my sauerkraut moldy?”, this is almost always the reason.
3. Fermenting in Too Much Heat
Fermentation thrives in warmth — but too much of it can spoil a batch faster than you think. Warm temperatures make good bacteria grow quickly, but they also invite the wrong kinds to the party. Temperature can be tough. During a Mississippi summer, I once had jars finish in half the normal time but they lost their crunch completely.
The Problem:
When your ferment stays above 75°F (24°C) for too long, it can over-ferment or turn soft, sour, and funky in a bad way. You might notice cloudy brine, mushy vegetables, or a strong yeasty smell.
Why:
Lactic acid bacteria produce acids and gases that preserve your food, but they work best between 60–70°F (15–21°C). In hotter environments, the balance shifts — different microbes take over, acid builds too quickly, and textures break down before flavors can mature.
The Fix:
Find a cool, shaded spot in your home — a pantry, basement, or cupboard away from appliances. In summer, set your jars in a water bath to regulate temperature or move them to an air-conditioned area. If a batch ferments too fast, refrigerate it early to slow things down.
4. No Pressure Releif
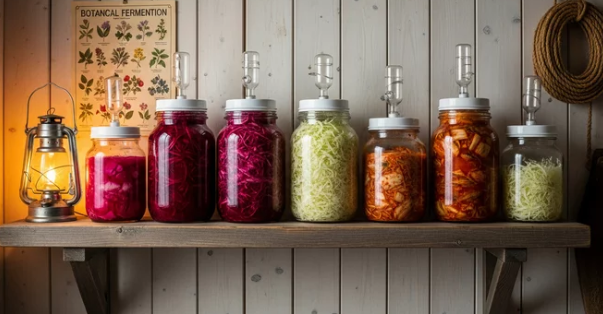
Fermentation releases gas as it comes alive. If that gas has nowhere to go, pressure builds inside your jar — and that can lead to leaks, spills, or even cracks.
The Problem:
Without a way to vent gas, your ferment can overflow, spray brine, or push liquid out around the lid. Leaving the lid completely loose, however, can let in too much air — and with it, unwanted microbes or mold.
Why:
As lactic acid bacteria break down sugars, they release carbon dioxide. In a sealed jar, those bubbles build pressure. The result is foaming, escaping brine, or even a cracked jar — none of which help flavor or safety.
The Fix:
Give your ferment a way to breathe. Use airlocks, vented lids, or simple water seals that allow gas to escape while keeping oxygen out. If you’re using the loose-lid method, set the jar on a towel to catch any overflow.
I’ve cracked a lid or two by forgetting to “burp” my jars during those first active days. Now I always use vented lids for long ferments and let the shorter ones breathe naturally.
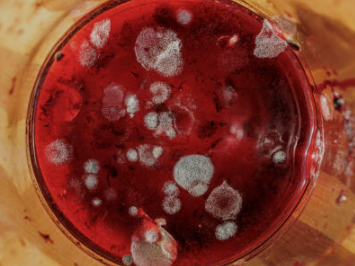
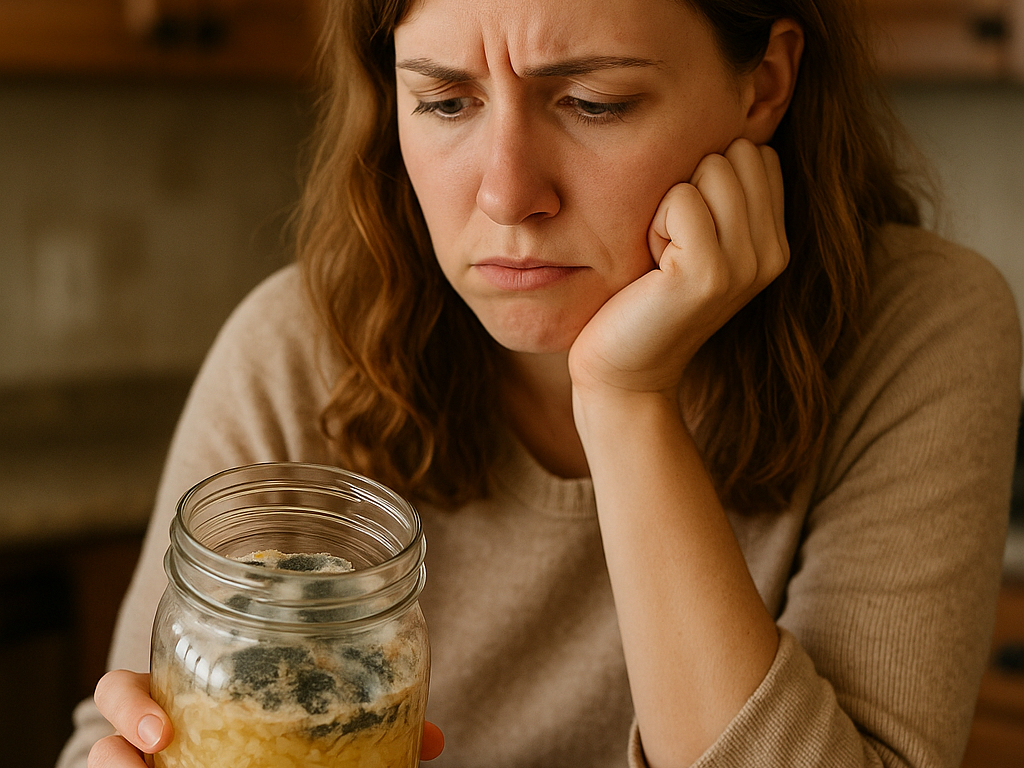
5. Ignoring Spoilage Signs
Fermentation is forgiving, but it’s not magic. Sometimes a batch just goes bad — and learning to spot the signs early keeps the rest of your jars safe.
The Problem:
Beginners often second-guess what they’re seeing. A little cloudiness or a harmless white film is fine, but fuzzy mold, bright colors, or strong rot smells mean your ferment is no longer safe to eat. Ignoring those signs risks contamination, off-flavors, or worse — foodborne illness.
Why:
Lactic acid bacteria preserve your vegetables by lowering the pH, making it too acidic for harmful microbes to survive. When oxygen or imbalance creeps in, that protective barrier weakens, and spoilage organisms can take hold. Mold, slime, or an unpleasant odor are the natural result of that imbalance.
The Fix:
Trust your senses. White scum or yeast (called kahm yeast) is harmless and can be skimmed off, but if you see fuzzy growth, colors like blue, black, or pink, or smell something putrid, throw it out. Clean the jar well before your next batch and start fresh.
6. Rushing the Process
Fermentation takes the time it takes. You can’t rush microbes any more than you can rush bread to rise or cheese to age. The waiting is what transforms simple ingredients into something complex and alive.
The Problem:
Impatience leads many people to stop fermenting too soon. Vegetables taste salty instead of tangy, textures haven’t firmed, and the brine may still taste raw. Pulling your jar early robs the good bacteria of the time they need to develop acidity and flavor.
Why:
During fermentation, lactic acid bacteria go through stages. Early on, they’re producing just enough acid to fend off spoilage. Only after several days — sometimes weeks — do they hit full stride, dropping the pH to safe levels and creating that rich, balanced tang. Cutting it short means the process never completes.
The Fix:
Be patient. Most vegetable ferments need at least 5–7 days at room temperature before they’re ready to taste. Larger pieces, cooler temperatures, or lower salt levels can take longer. Taste as you go — when it’s pleasantly sour and no longer just salty, it’s ready.
7. Giving Up After One Bad Batch
Every fermenter has thrown out a jar. It’s practically a rite of passage. The key is realizing that failure doesn’t mean fermentation doesn’t work — it just means you learned something new about how it does.
The Problem:
A spoiled batch can be discouraging, especially when you’ve followed every instruction. The smell, texture, or look might make you question if it’s worth continuing. Many people quit after that first disappointment and miss out on the rhythm that comes with practice.
Why:
Fermentation is part art, part science. Temperature, salt ratios, water quality, and even the vegetables themselves change the outcome. It takes a few tries to learn how these variables behave in your own kitchen — and that’s knowledge no recipe can replace.
The Fix:
Start again with a small batch. Keep notes on what you used, how warm it was, and what went wrong. Most failed ferments trace back to one of the simple fixes in this list — salt balance, temperature, or brine coverage. Once you adjust, success usually comes quickly.
Final Thoughts
Fermentation isn’t just a skill — it’s a relationship. You give time, patience, and attention, and in return you get food that’s alive, nourishing, and uniquely your own.
Mistakes aren’t the end of the process; they are the process. Every jar teaches you something new about balance, timing, and trust. Once you understand the rhythm, fermentation stops being guesswork and starts feeling like second nature.
Whether you’re making sauerkraut, pickles, or kimchi, remember: good microbes do their best work when you give them space and time. Keep your vegetables submerged, your salt measured, and your curiosity alive — and the rewards will take care of themselves.
Written by Dustin, founder of Old School Ferments — sharing traditional fermentation methods for modern kitchens.
Fermentation Troubleshooting FAQs
Why did my ferment go bad?
Usually because of too little salt, too much heat, or vegetables floating above the brine. Review the common fermentation mistakes in this guide for quick fixes.
How much salt should I use for fermenting vegetables?
Aim for 2–3% salt by weight. This ratio keeps your ferment safe and flavorful.
Why is my sauerkraut moldy?
Mold grows when vegetables are exposed to air. Keep them submerged under brine using weights or cabbage leaves.
Want to learn more about fermentation troubleshooting?
Read my Beginner’s Guide to Fermentation for more salt ratio, temperature, and safety tips.